Tuesday, June 11, 2013

Repurposed Wallet Tin

My husband bought a new wallet and it came in this great tin. My daughter and I decided to do a make over on it using stencils and Distress Paint Dabbers. This box will be used to store jewelry.


Thursday, June 6, 2013

More Fun with Stencils

I got home from work yesterday and there was a package. It was the stencils I had ordered from Green Pepper Press/ Michelle Ward. Of course I could not wait to play so I made this quick tag.

This tag used three different stencils. I added the color using Distress Inks.

This is the reverse side of the tag.


Tuesday, June 4, 2013

Portrait on Stone Paper

I picked up a pad of Stone Paper at Walgreens on the weekend. It is a smooth surfaced paper made from stone instead of wood pulp. After outlining the face with a Faber-Castell Pitt pen, I decided to experiment with my Copic markers. They look like watercolor on the stone paper. I was able to use my fingers to manipulate and mix the colors. I mixed a little white acrylic on the face to add highlights. I want to play with the paper a little more before I buy a pad without lines online. They are a lot more expensive than the $3.99 I paid for the lined pad at Walgreens.


Friday, May 31, 2013

54 Card

My husband's 54th birthday is this weekend so I made him this quick card. For the background I embossed a thin foil sheet with a Tim Holtz embossing folder. I then added some Ranger Vintaj Patina metal paint in various colors using a paper towel as an applicator. I dried the surface with a heat gun then gently sanded the surface to reveal the metal again in the raised areas. I stamped the paper with a word stamp by Clearly Vintage. The paper was a scrap from my scrap envelope. The clocks were already on it. The embellishments are all Tim Holtz I believe. I lucked out and found the safety pin with 54 on it. I gently rolled the edges of the paper for a more distressed look before applying it to the metal background.


Thursday, May 30, 2013

Flowers for Inspiration

Our garden is in full spring bloom. I hope these inspire you to create.

Wednesday, May 29, 2013

Two Birthday Cards

Yesterday, I got a box of supplies from Artist Cellar and I could not wait to play. So last night I made these two birthday cards. I used stencils by Chris Cozen from the Artist Cellar Playful Pods Series to create the patterns. The acrylic glaze paints are Silks.


The lighter /darker brown on the card below was done but sponging Distress Ink through the stencil.

I outlined the stencils using a Pigma Micron 01.


Monday, May 27, 2013

9 Drawer Jewelry Box

My daughter and I made this 9 drawer jewelry box this weekend. She had dozens of earrings she needed to organize. This is a kit by Kaiser Craft. The paper is by Teresa Collins. The buttons are antique. We used a Tim Holtz Paint Dabber to paint the edges.


Sunday, May 26, 2013

I Just Love Stencils

I am just crazy about stencils lately. The pages below are in a journal I made by hand. The paper is extra heavy weight watercolor paper. I randomly painted it first with Tim Holtz and Adirondack Paint Dabbers. Then I took some Golden's Molding Paste and a stencil by Heidi Swapp and created the 3D circle design. After it dried I applied more paint lightly to the surface to color the dots. I dripped Liquitex acrylic inks from the top of the page to create the drips. On the third page panel I used a paint dabber on a stencil by Artist Cellar to create the flower look. The flap in the center of the page is a tag looped between two pages. The flowers are made from stenciled coffee filters which are then ripped and glued to silver foil to create a pattern. I punched out the graduated circles with hand punches from Marvy.

I then painted the stems with a Posca Paint pen and outlined them with a size 2 Sakura Pigma Graphic pen. Unfortunately I am left handed and I smeared some of the outline and lettering. The two butterfly cards (a previous project) are attached to the tag I looped through the pages. The final touches were some Tim Holtz tissue tape stained with Broken China Distress Stain and dabbed with Broken China Distress Paint.


Saturday, May 18, 2013

Logo Journal Rehab

Have you ever gone to a conference or event where they give you this great journal or writing tablet and it has a big logo on it? I am not big on logos so I decided this one needed some sprucing up. For some reason when the exterior of a journal is beautiful I long to open it up and add to it.

I used a generic journal with a logo on it. Then I covered the journal using Studio multi medium matte as glue with Idealogy by Tim Holtz tissue wrap. I dried it with a heat gun. Then I randomly added the paint using Ranger Distress Paint. I let everything dry and then stenciled on top using a stencil by Kite and Versafine ink in Pinecone. As a final coating I added Studio multi medium matte.


Tuesday, May 14, 2013

More Gelli Prints


On Saturday I spent a few hours playing with my Gelli plate again. I just love the results. I used a variety of acrylic paints from liquitex and turner.

I had the most fun cleaning my stencils off directly into this handmade journal. I also cleaned the brayer off on the pages. Most of the stencils are Crafter's Workshop and Heidi Swapp.


Monday, April 29, 2013

Gelli Plate Printing

I recently got two different size Gelli plates.  If you have not tried one of these I warn you that they are addictive.  Gelli plates make the most amazing monoprints using stencils, masks, tools or found items.

I have created some great prints which I have been hoarding.  Today I made this simple card for my 19th anniversary.  I used four Crafter's Workshop stencils in 6x6 on the 8x10 Gelli plate and placed the dot stencil on top with the second printing.  What is so amazing about Gelli printing is that sometimes the second or third print off the plate is the most beautiful.


Saturday, March 2, 2013

Poppies and Pan Pastels

I just started taking a series of classes by Donna Downey on how to work with Pan Pastels.  Pan Pastels are pastels in small round plastic pans.  They are applied with sponges and are extremely fun.  I am loving the ease of application.  Be careful as they are addictive.

Here is my first project.  It is poppies again.  I just love poppies!  This is Pan Pastels on watercolor paper.


Sunday, February 24, 2013

Grow Poppies

I just love to draw and paint poppies.  This painting was made using my new Tim Holtz Distress paint dabbers.  They are wonderful to use.  The stamps are Studio 490.

Saturday, February 23, 2013

A Homemade Stamp Valentine Card

This was a quick Valentine's card I made for my daughter.  I used fun foam to make a rubber stamp.  It is super easy.  You use a bamboo skewer to emboss directly on the fun foam and the indentation stays.  Trim the stamp close to the edge.  Then I took a paint dabber and applied the color to the stamp.  I turn the stamp over and placed it on my card.  I used a brayer to evenly apply pressure to the back of the stamp.  Remove stamp and the image is on the card.  I then used the dabber around the edge of the card.


Thursday, February 21, 2013

Flower Power

I have been taken several classes as you know and this is another exercise.  It is in my art journal .  I am finding the pages are impossible to photograph flat.  I should try scanning.  I used Neocolor II watercolor crayons to add the color to this drawing.

Saturday, February 16, 2013

Flowers

Today I went to one of my favorite art supply stores Jerry's Artarama. They have so many wonderful brands. I am like a kid in a candy store. I love to look a paper and found this awesome paper pad by Faber Castell called Black Paper Sketch Pad. The pad was only $3.50. It is a little thin but I used it for this effect. I first drew my picture with a Uniball Signo White pen and then colored it in with my scrumptious Caran D'Ache Neocolor II crayons in Turquoise Blue, Yellow Green and Ruby Red. I used them with out water. I love the effect on the black paper.
The paper is very thin. I can't decide if I should mount it to a piece of book board to give it some strength.

Saturday, February 9, 2013

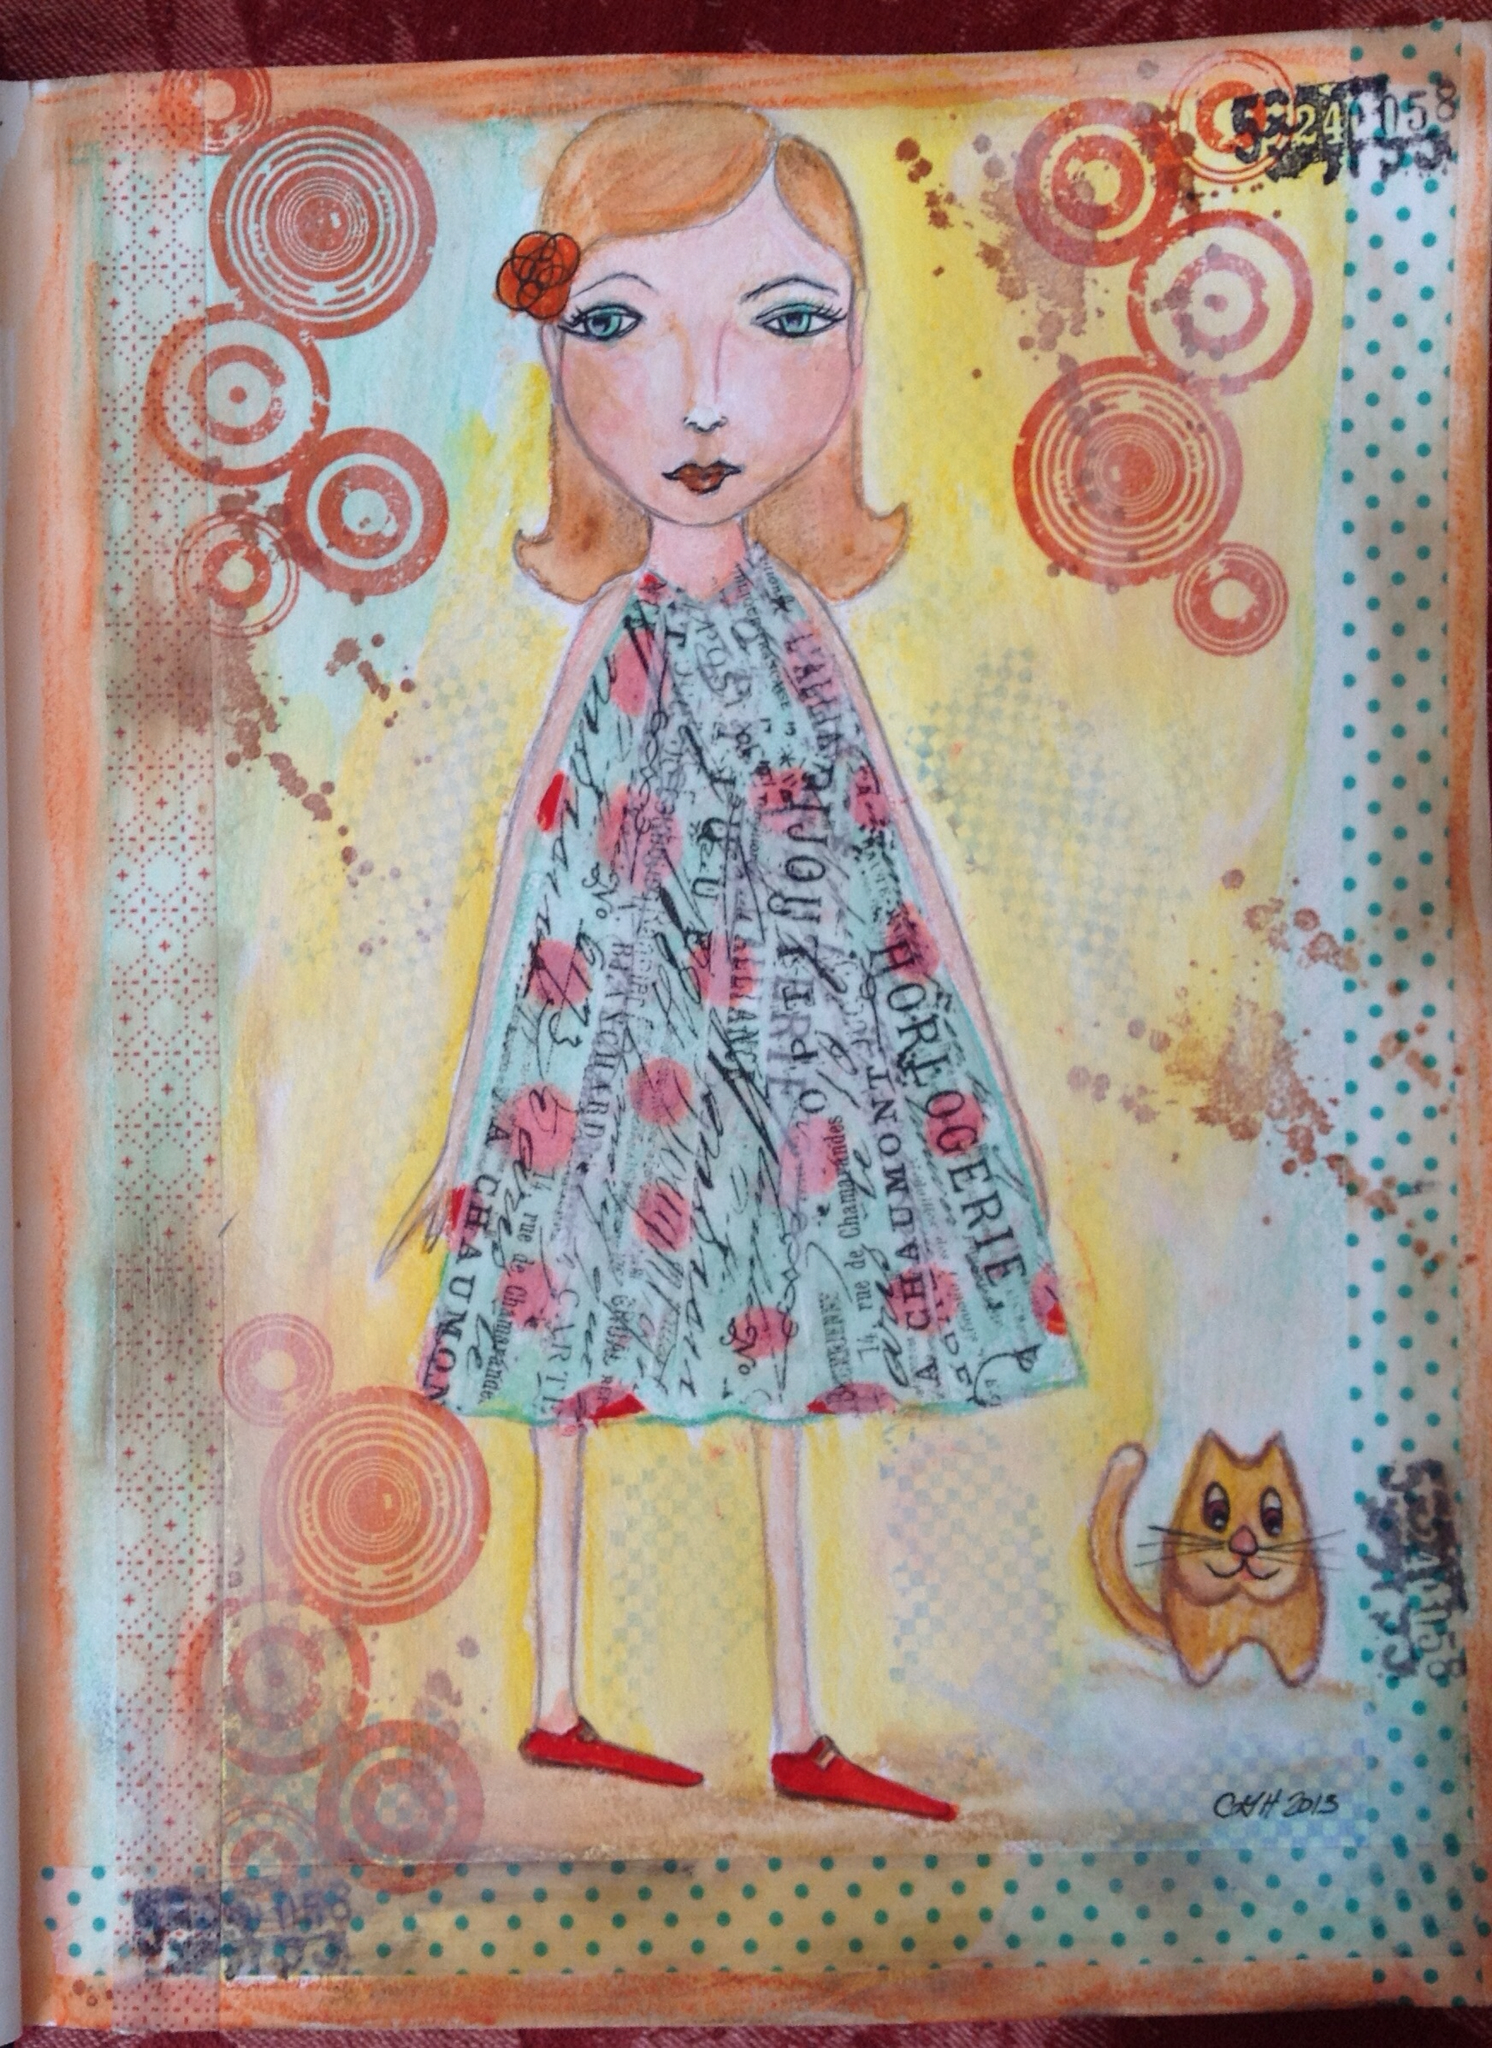
Kitty and Me

I made this journal page using watercolor crayons, Pitt markers, Tim Holtz stamps and washi tape.
 

Sunday, February 3, 2013

Jeans

Another one of my girl drawings.  Her face is a little flat.  I did this one a few months ago but I am still working on shading.

Saturday, February 2, 2013

Foil Flowers

In the Lifebook 2013 class a few weeks ago we learned how to make foil flowers.  This is my interpretation of the assignment.
The foil flowers are made by coloring coffee filters with dylusions spray inks and assorted stencils then tearing them up and glueing them to foil.  I then took different size circle punches to punch the circles out of the paper foil.   After placing five sizes of paper foil circles together with a brad in the center I curled the edges to reveal the shines underside of the foil.

Friday, February 1, 2013

Mix Media Playing Cards

This project is part of Lesson Five at Lifebook 2013.  These cards were so much fun to make.  I used acrylic inks and ranger paint dabbers for the backgrounds.  Stamps are by Studio 490.